Create an Issues Report
You can create a report of the issues applied to transcripts in your case using the Reports Explorer.
To create an Issues Report, follow the steps below:
-
From the dashboard, click the Presentation module.

-
Click the EVIDENCE tab in the left navigation panel.

-
Open the needed case by double-clicking the case name in the Cases table. Alternatively, you can select the appropriate case name, then click the Open Case button in the ribbon bar above the table.

-
Open the Reports Explorer.
If the Reports Explorer is not visible, you can open it using the Explorers drop-down in the TRIAL DIRECTOR EVIDENCE Main Menu.

Click the drop-down arrow and then click Reports.
-
Select the Issues item in the explorer.

-
Click the Run Selected Report button in the explorer ribbon bar. Alternatively, you can double click the report option to run the report.
-
Ensure the selected options for the report are correct.
-
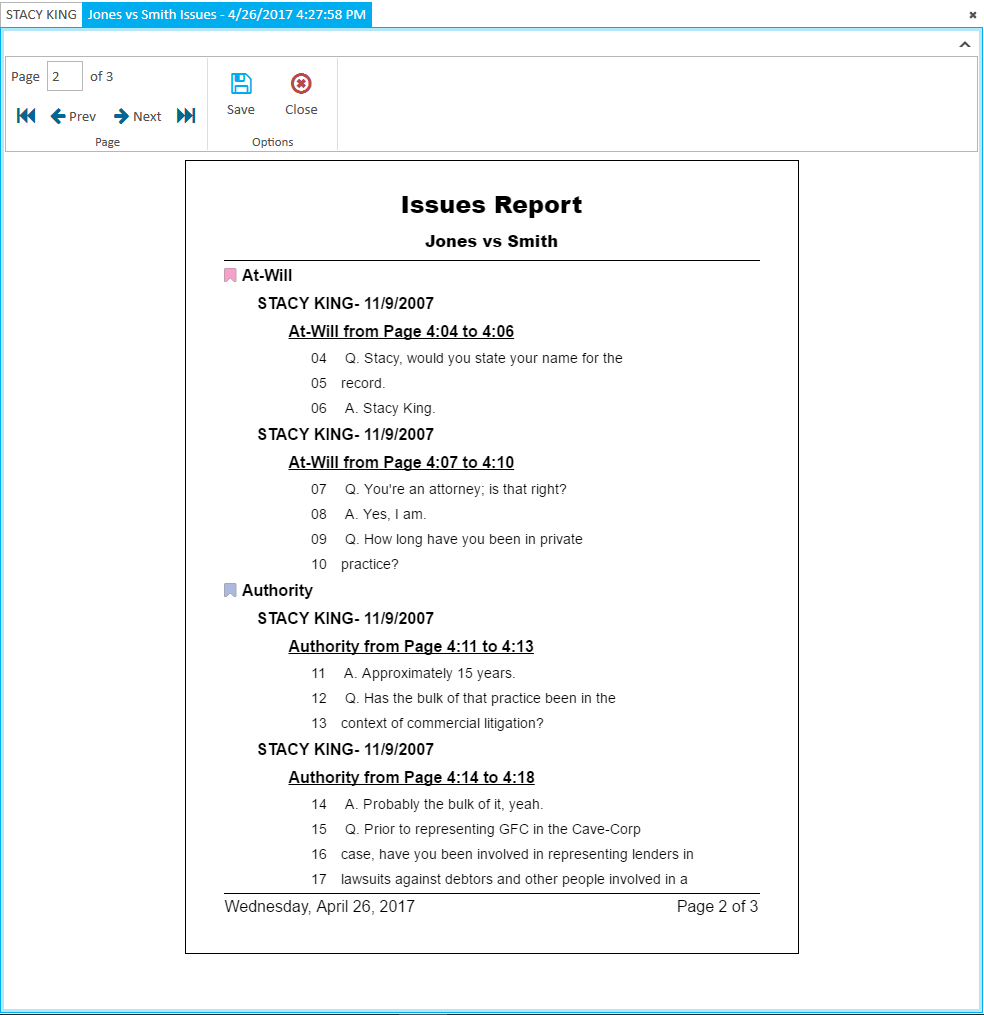
The Issues Report can be previewed, saved as a PDF, or exported as a CSV file.
To save or export the report, choose from the following options:
 Preview or Save the Issues Report as a PDF
Export the Issues Report
Preview or Save the Issues Report as a PDF
Export the Issues Report


The Issues Report wizard appears.


|
Note: See the table below for information on all of the report options. |


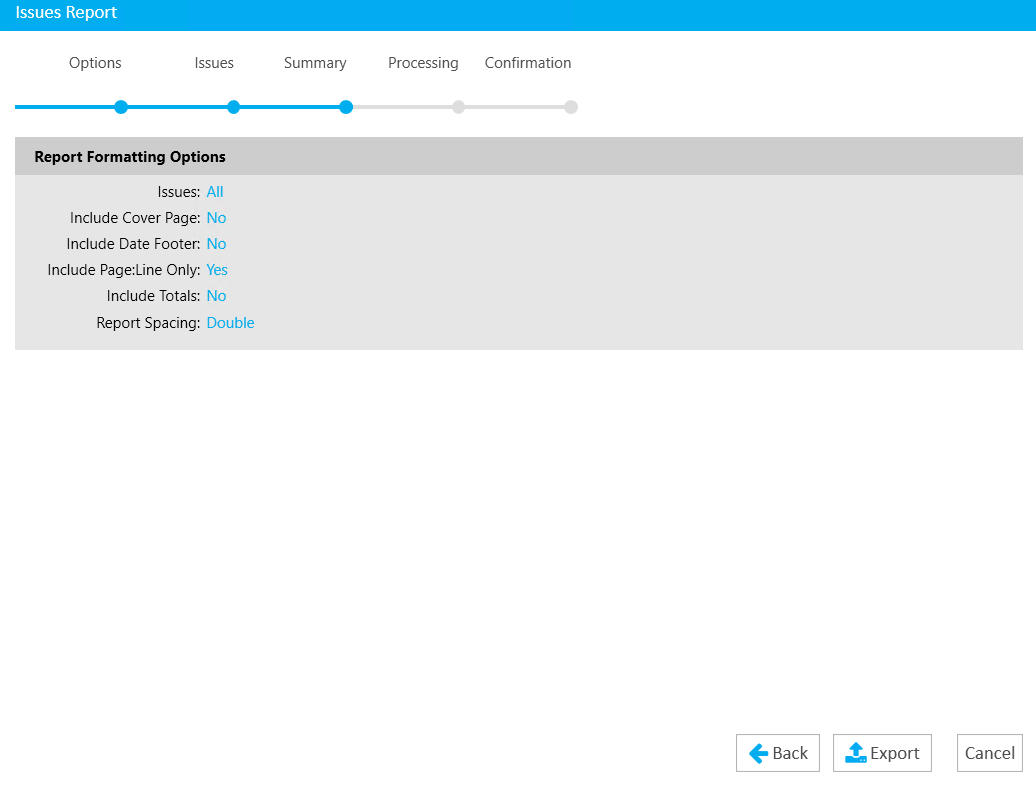
Report Options
The Issues Report contains the following customization options:
|
Option |
Definition |
|
Issues Options |
You can choose between two options:
If you choose the Selected Issues option, you can choose the issues you want to include in the next step in the wizard. |
|
Include |
You can choose to include the following options in the report:
|
|
Report Spacing |
You can choose between two options:
|
|
Export Options |
You can set the following export options:
|
Related Topics
Version: 2023.8.12
Last Revision: 11/8/2023